Facebook’s Timeline for Businesses is giving brands the much-needed shot of adrenaline they need to refocus on building their professional presence on the world’s most popular social networking site.
The creative, inspired and innovative among us will rejoice in all of the new ways that Facebook allows you to share your story.
Migrating to Timeline for your business.
The thought of updating your page to the new layout may feel a bit daunting, so I’ve compiled a simple list that will help you navigate the process.
Phase 1: Setting up your Timeline
1. Add cover photo
Your cover photo should be a minimum of 399 pixels wide. The Ideal dimensions are 850 pixels by 315 pixels.
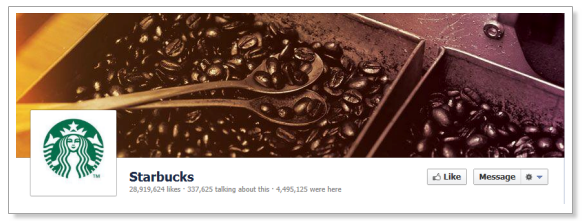
An important note regarding the cover photo: per Facebook, “This space is not meant for promotions, coupons or advertisements. Your cover photo should not be primarily text-based or infringe on anyone else’s copyright.”
Further, it may not contain:
- price or purchase information, such as “40 percent off” or “Download it at our website”;
- contact information, such as Web address, email, mailing address or other information intended for your page’s “About” section;
- references to user interface elements, such as “like,” “share,” or any other Facebook site features; and
- calls to action, such as “Get it now” or “Tell your friends.”
It’s clear that Facebook wants brands to use the cover photo to tell their story and not as a banner advertisement.
2. Add profile picture
The ideal dimensions are 180 pixels by 180 pixels.

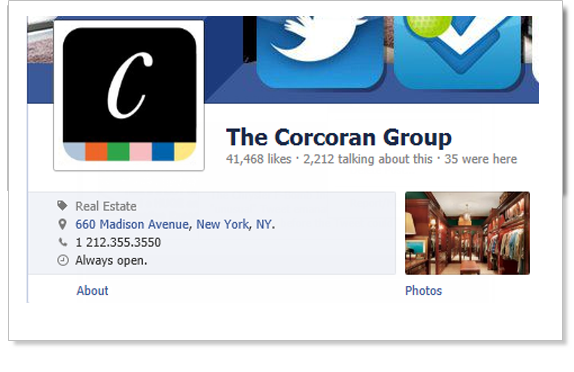
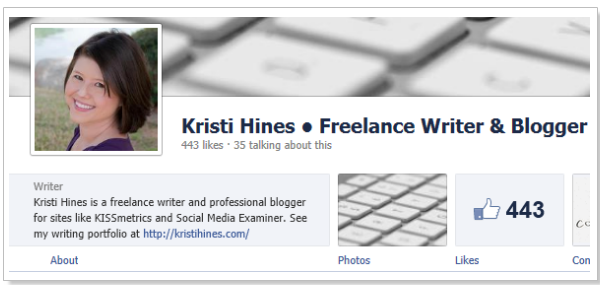
3. Complete your About section
The “About” section for businesses who have a physical location will reflect their local information.
For all other pages, Facebook displays 170 characters of your About section. This is a great place to add a strong call to action.
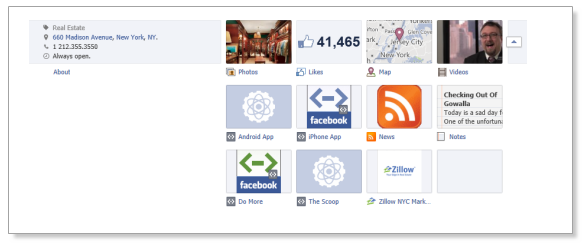
4. Review your apps
Facebook has removed the ability to set a default landing tab for new visitors. Therefore, you may need to revisit your Facebook apps to determine if they are still relevant. You have the ability to feature two apps. Another important thing to note is that tabs have increased in size from 520 pixels to 810 pixels.
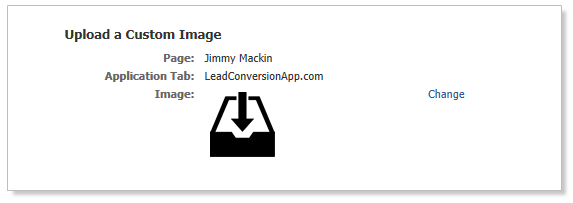
If you’d like to change the default image of the app, visit your admin panel and:
- select “manage”;
- select “edit page”;
- select “apps”;
- select “edit settings” on the app you want to update; and
- under customer tab image, select “change. “
(Hopefully, they make this process easier in the future)
Important note regarding apps: Before you go “app crazy,” it’s important for you to understand that it is unlikely that people will actually visit your custom apps unless you publish the links directly to your fans feed, or you use advertising to drive new visitors directly to your custom apps. As a result, I recommend focusing on your content before you begin to obsess over installing a bunch of new apps.
5. Configure your settings
By visiting the back end of your page, you can customize your page settings to match your personal preferences.
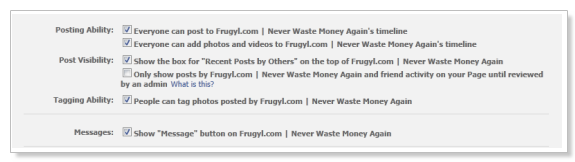
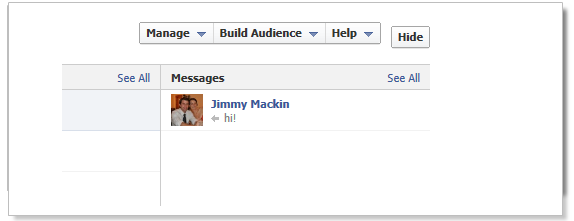
Important note regarding messages: I would advise you to make sure that fans of your page can send you messages. Here are the steps:
- visit admin panel;
- select “manage”;
- select “manage permissions”; and
- check off “Show Message Button …”
(See below for more on Messaging.)
Phase 2: Adding and highlighting content
You now have the ability to hide, star, add milestones and pin your content.
1. Add important Milestones
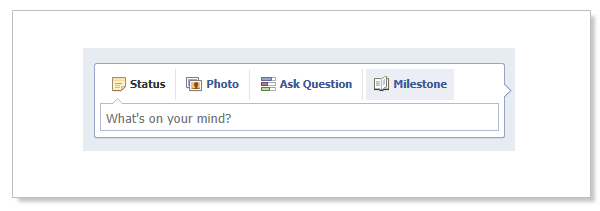
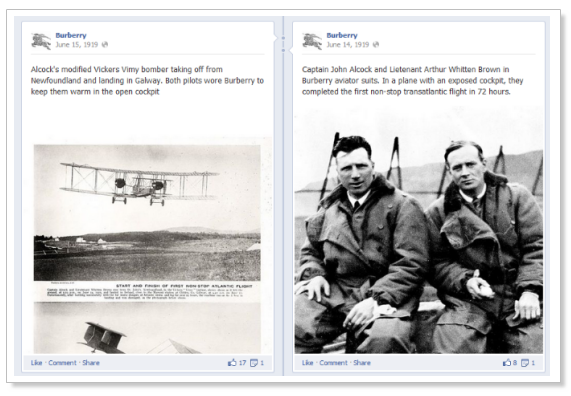
Take the time to go through and add the important Milestones to your business that will help people get a better understanding of your business.
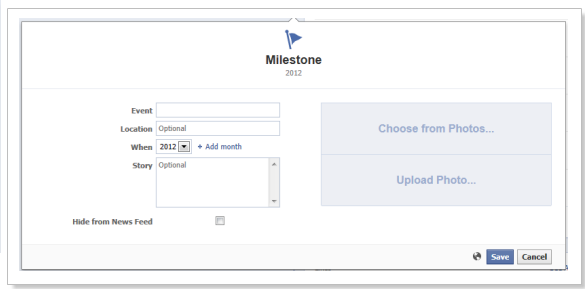
I would recommend checking out Burberry to see a great example of a brand sharing their Milestones. They feature interesting historical facts about the company that really tell a story which may help customers develop a personal connection with the brand.
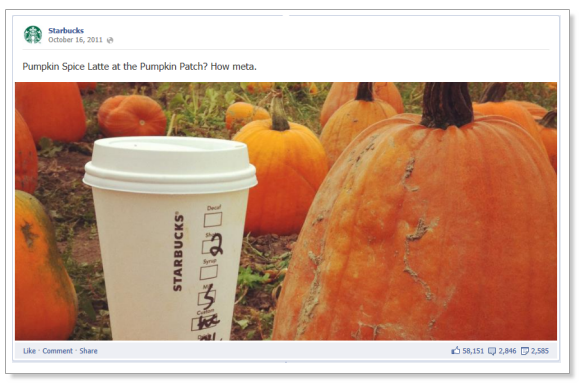
2. Highlighting content
To highlight important stories, simply click the star icon. The story will expand to the full width of your timeline.
3. Pinning
Facebook allows you to anchor the most important story to the top of your Page for up to seven days. This is known as “pinning.”
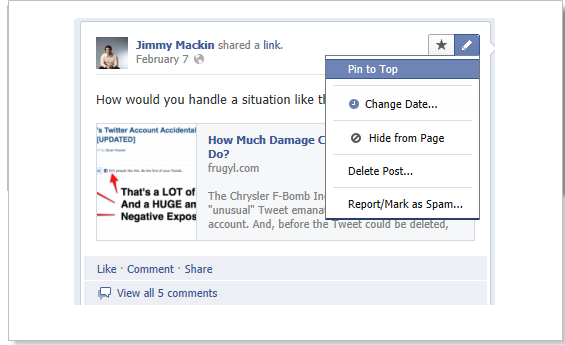
Many brands are taking advantage of this new feature to highlight an important story. It’s a great way to ensure that your important stories get the most exposure.
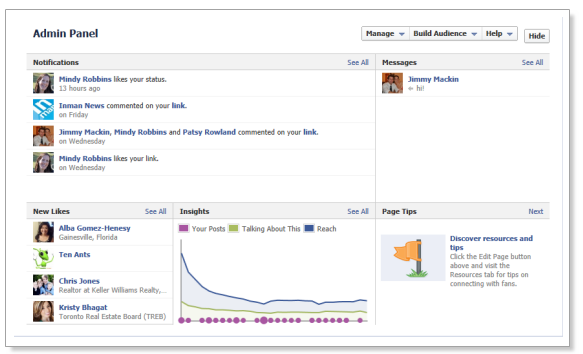
Phase 3: Managing your page
One of the major enhancements to Pages is the new admin panel. With the admin panel, users will have the ability to view notifications, messages, new likes and insights on one screen.
1. Build your audience
You can upload your contacts to invite them to your page. I personally feel that this is one of the least effective ways to grow your audience.
If you have an email list, I would send a personal message explaining to them what type of information you will be sharing on your page and why they might consider liking it.
If you’re just getting started, you may want to invite your close friends and loyal customers.
Here is how:
- select “Admin Panel”;
- select “Build Audience”;
- select “Invite Friends”;
- select “Friends”; and
- select “Submit.”

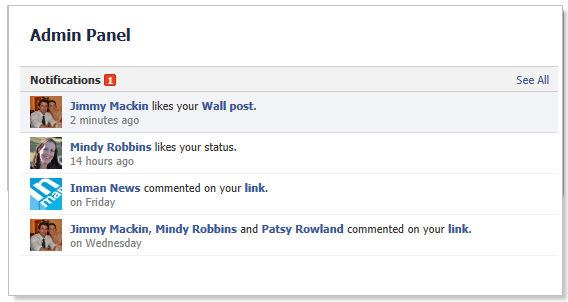
2. Monitor notifications
You have the ability to view notifications from your admin panel. I would get in the habit of checking your page notifications at least twice a day.
3. Monitor messages
One of my favorite new features is the ability for fans to send businesses direct messages. This is a great way to take a public conversation to a private one-to-one chat.
I envision brands adding strong calls to action encouraging fans to send a direct message in status updates.
I tested it out with Big Daddy’s BBQ (see below):
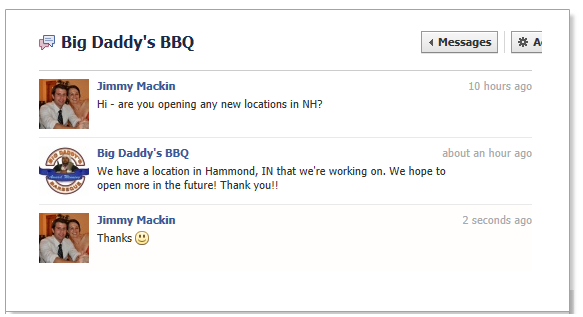
As you can see, this messaging process allows for a new level of direct interaction between businesses and customers. Brands will no longer feel the need to drive fans back to their website, as conversions can happen on Facebook.
Concluding comments
So, that’s an overview of some of the new and exciting features of Facebook’s Timeline for Businesses.
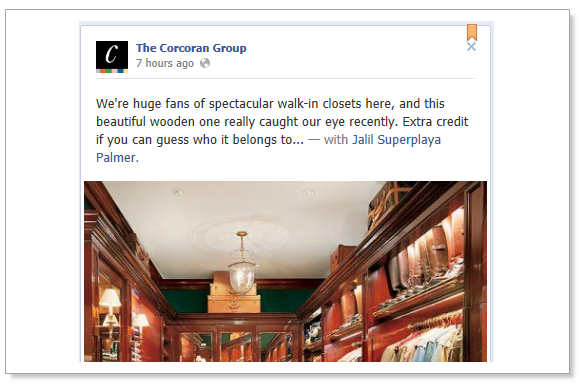
If you need some inspiration for your own page, I’d suggest checking out these pages:
- The Corcoran Group;
- Mashable;
- Burberry;
- Chevy Sonic;
- Ike’s Place;
- Modern Family; and
- Magnolia Bakery.
If you have any questions about Timeline, please feel free post below and I’ll be sure to comment.
For additional reading:
